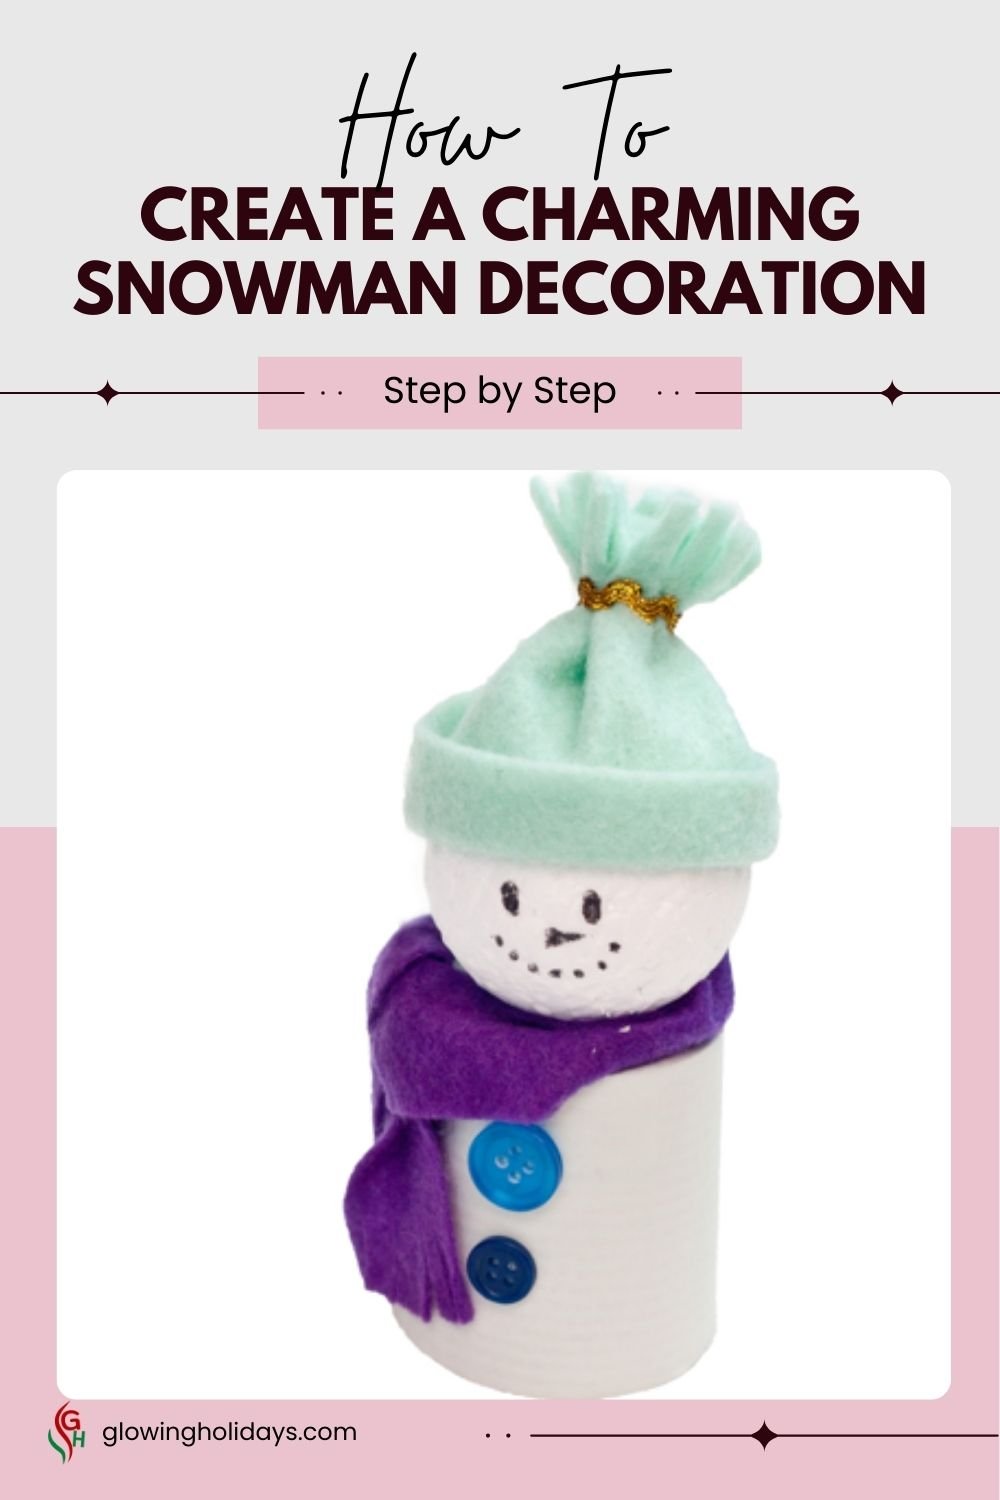
8 Steps to Create a Charming Snowman (Easy Tutorial with Pictures)
Want to make your own snowman Christmas decorations? Then, follow these eight steps to create a charming snowman.
I love this charismatic snowman. Not only is it adorable, but it is also easy to make. Snowman Christmas decorations are popular and can range in price from quite cheap to expensive, depending on the materials used.
Following these eight steps to create a charming snowman will allow you to use inexpensive items that most of us already have in our craft boxes. You will also be repurposing everyday items.
So, what exactly do we need to make this charming snowman?
Supplies Needed to Create this Charming Snowman
- An empty plastic yogurt cup
- A small Styrofoam ball
- Two pieces of soft crafting felt (I love the mint green and purple, but any colors can work)
- A thin metallic ribbon
- Two medium-sized buttons
- One sheet of light-colored construction paper
I like to use whatever available container, but the small yogurt containers work exceptionally well.
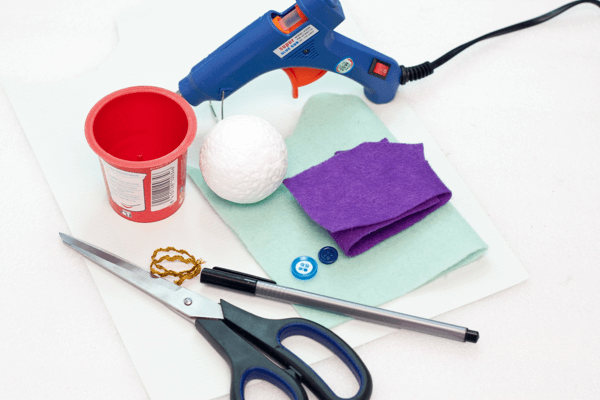
Tools to Make Your Snowman
- Black pen
- Pair of scissors
- Hot glue gun
Knowing that you have all the supplies, let’s get going.
8 Steps to Create a Charming Snowman – Instructions
First, we will make the head and the body of the snowman, and then we will dress it. Dressing it up is where you can get creative. I like the mint green and purple color scheme, but the sky is the limit when choosing the right colors for you. What colors are you making? Please share your ideas with us on our Facebook page.
Step 1
If your yogurt container has a flapping edge, cut it off. You want a smooth, flat surface.
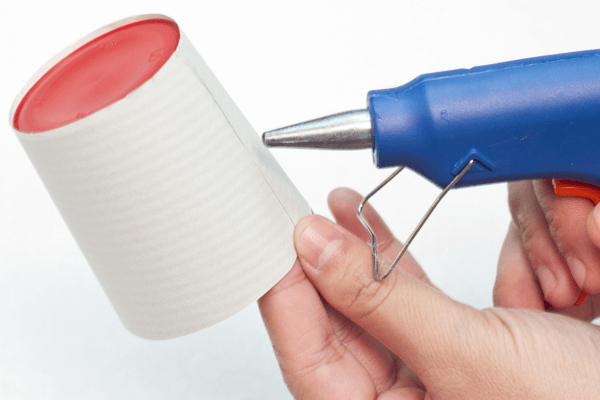
Step 2
Wrap the light-colored construction paper around the walls of the plastic yogurt cup and apply hot glue at the ends of the paper to permanently seal it to the cup. Cut the excess paper on the cup’s top and bottom.
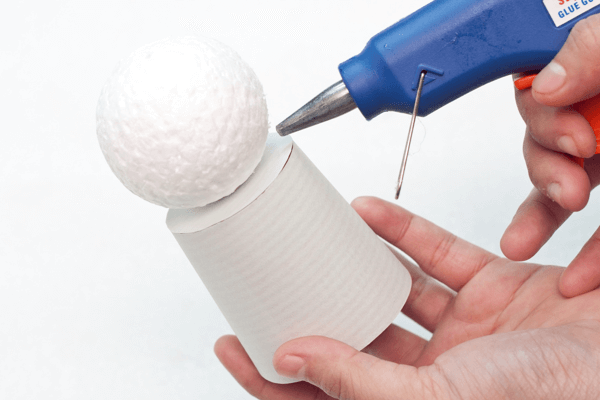
Step 3
Glue the small Styrofoam ball on top of the plastic yogurt cup. Now your snowman has a body and a head.
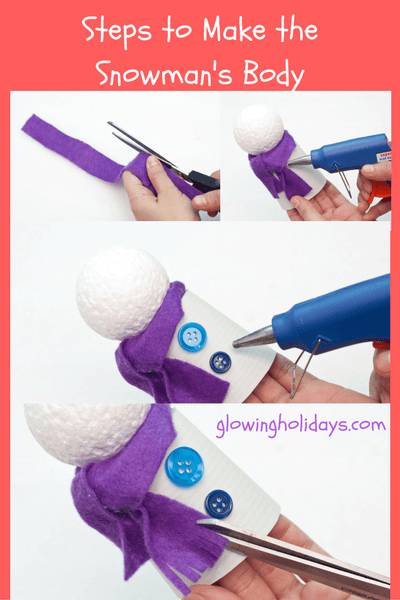
Step 4
Cut a long strip of soft purple crafting felt to make the snowman’s scarf. The length should be at least 4 to 6 inches, and the width should be approximately 1 inch.
Wrap the purple scarf around the neck of the snowman and hot glue it to stay in place. Cut small vertical cuts on the ends of the scarf to add some details.
Step 5
Hot glue the buttons in the middle of the snowman’s body.
If you wish to make a hanging snowman, cut a small piece of red satin ribbon, glue the ends together, and glue it to the top of the snowman’s head, just as we did when we made the hanging angel.
Step 6
To make the snowman’s bonnet cap, make a small fold about one-half an inch in width and wrap the craft felt on top of the snowman’s head. Cut off any excess felt. Bring together the ends of the open bonnet at the back of the head and hot glue them together.
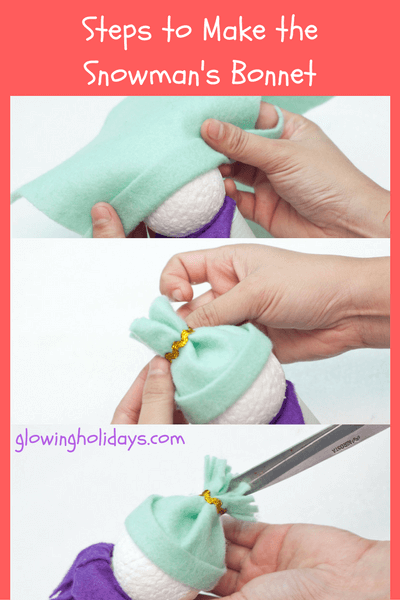
Step 7
Squeeze the open part of the bonnet together and tie it together using a metallic ribbon. Create details by creating small vertical cuts above the metallic ribbon.
Step 8
Draw the eyes, nose, and sweet smile with the black pen. 🙂

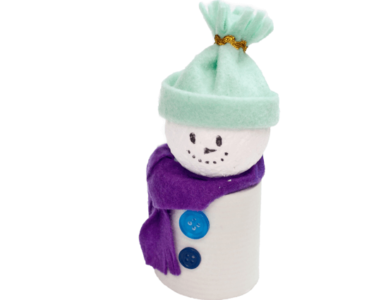
In Conclusion
Voila! You are done! Display your charming holiday snowman.
Why not follow these 8 Steps to Create a Charming Snowman and make several so you can display them in groups anywhere in your home? You can add satin ribbons and turn them into hanging snowmen or make them as gifts for friends.